Singapore's Preferred Outdoor Concept  ·  Open Mon to Sat  ·  +65 8129 9381
Roofing · Decking · Zip blinds

See the possibilities.
Plan your own space.

Explore our installation photographs and ALU-R Pro supplied product examples, from individual roofs, decks and blinds to spaces with overhead cover and side screening. Read the source labels, find a layout you like and use it to discuss your own project.

Published work

From our published projects and product showcases.

Explore our aluminium decking showcase, outdoor blind examples and a roof-extension work sequence. Open the original posts for the full captions, or follow a system link to plan your own space.

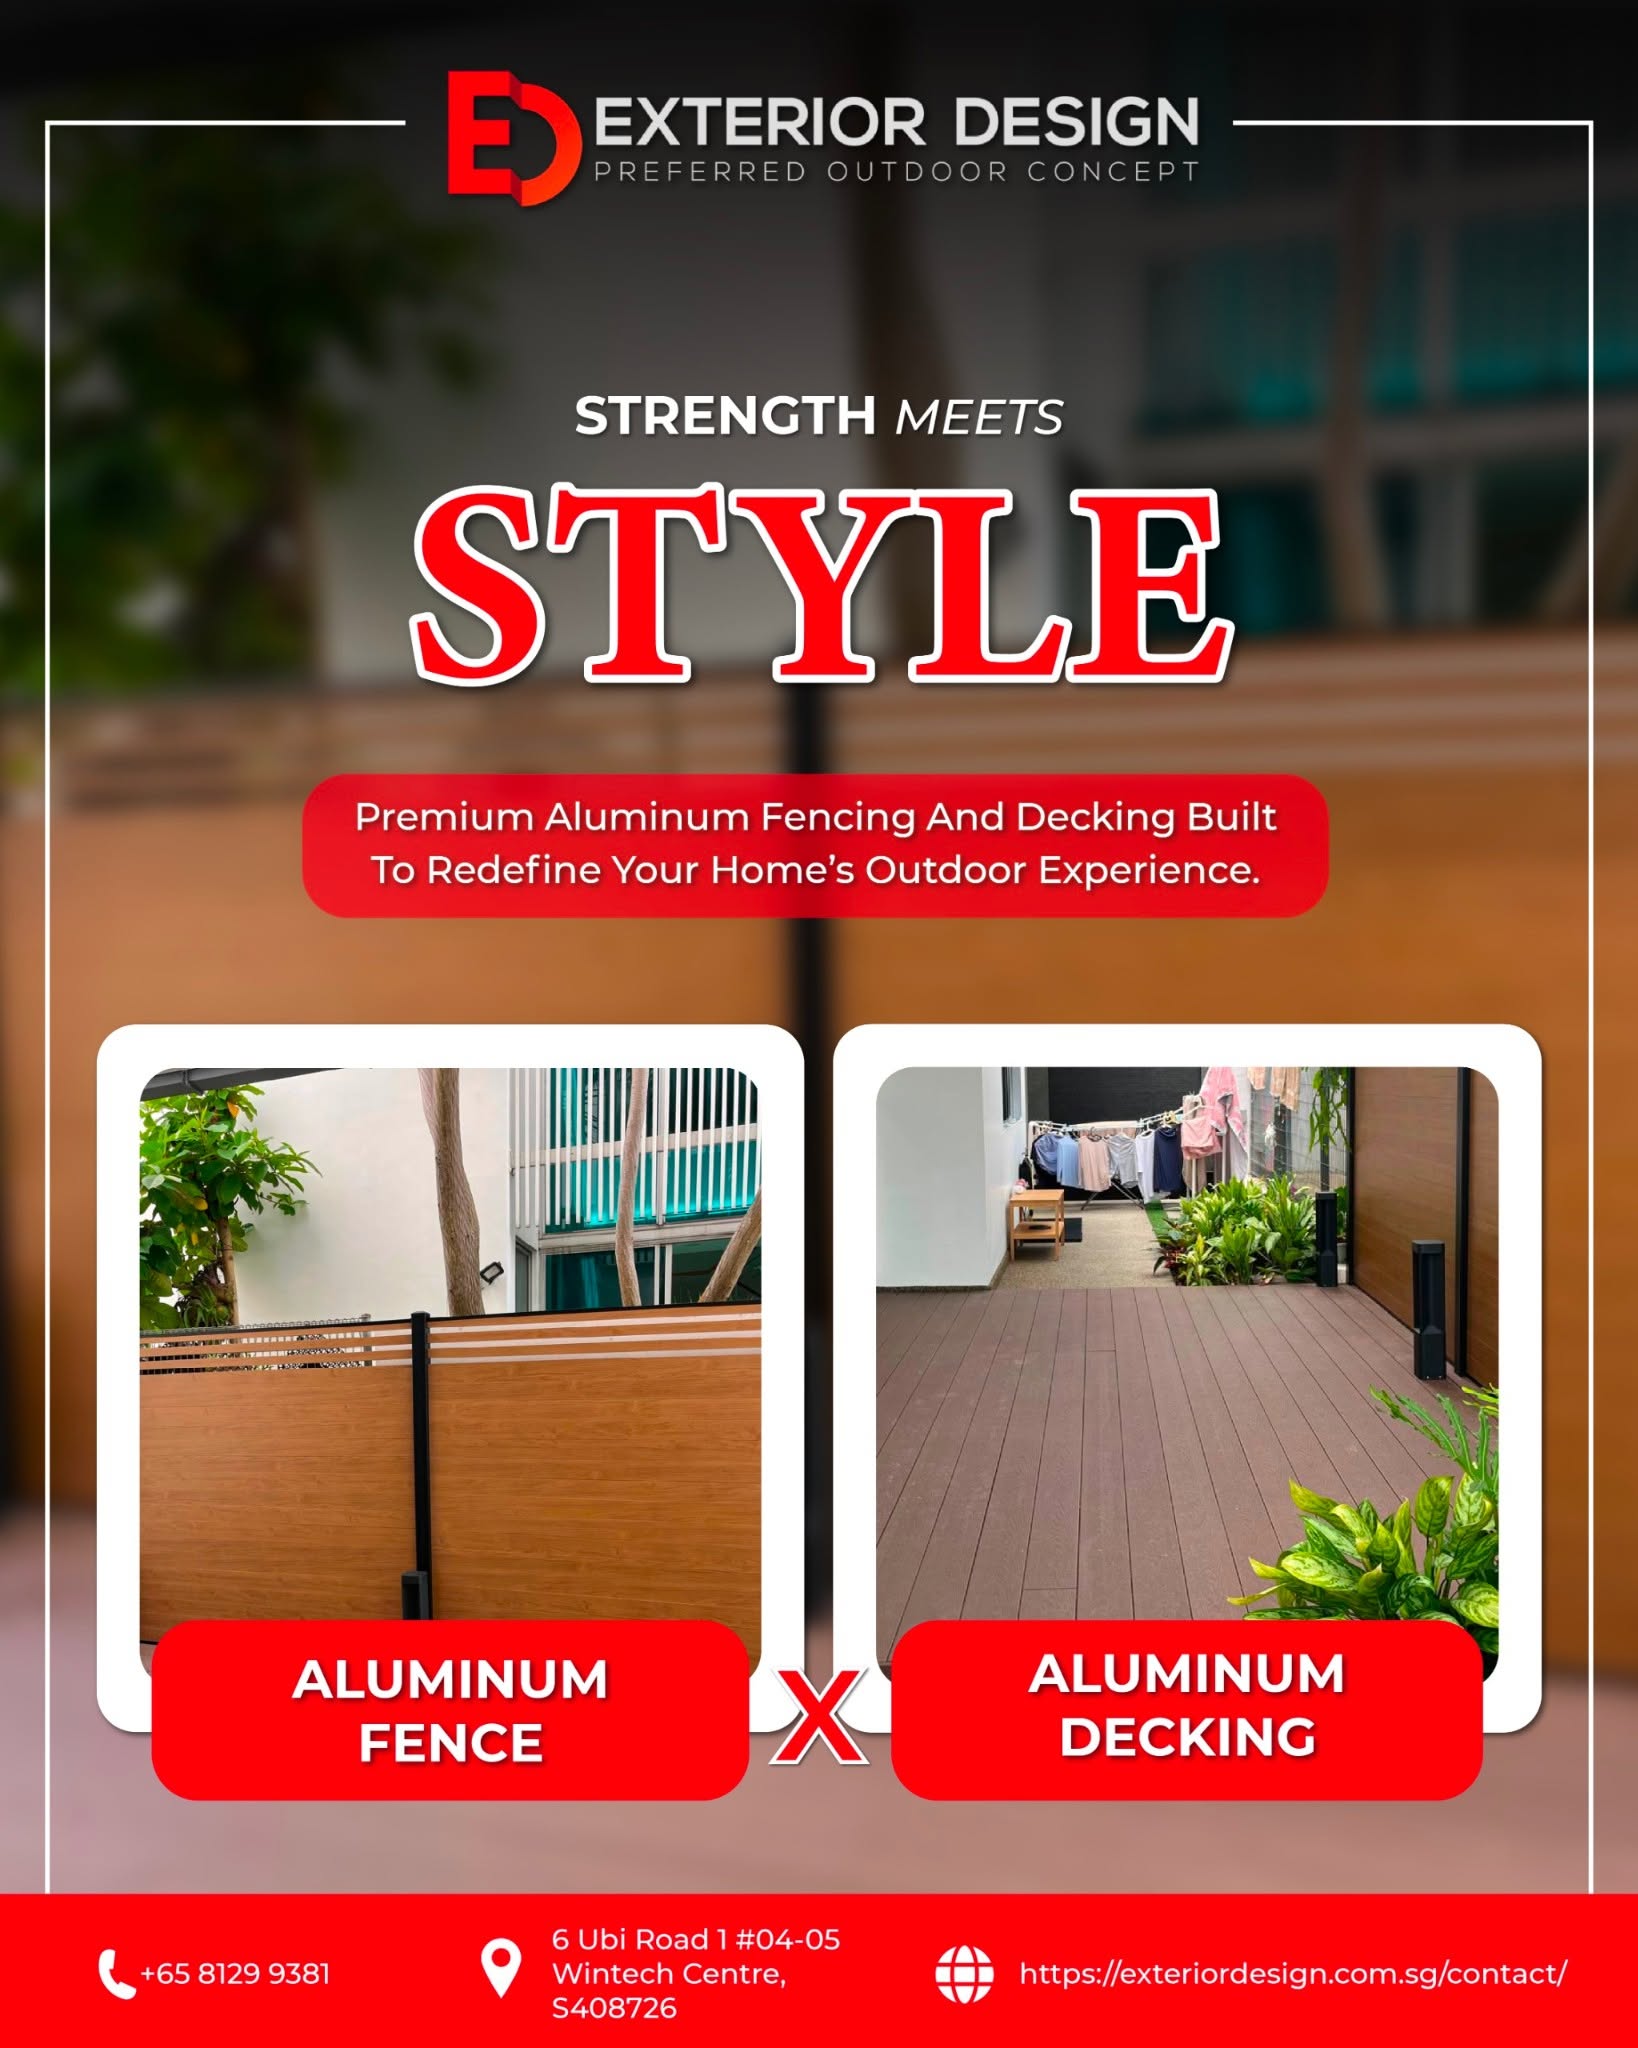
Exterior Design published showcase artwork with separate photographs of aluminium fencing and an aluminium deck with a wood-grain finish
Our published aluminium showcase, shown as posted.

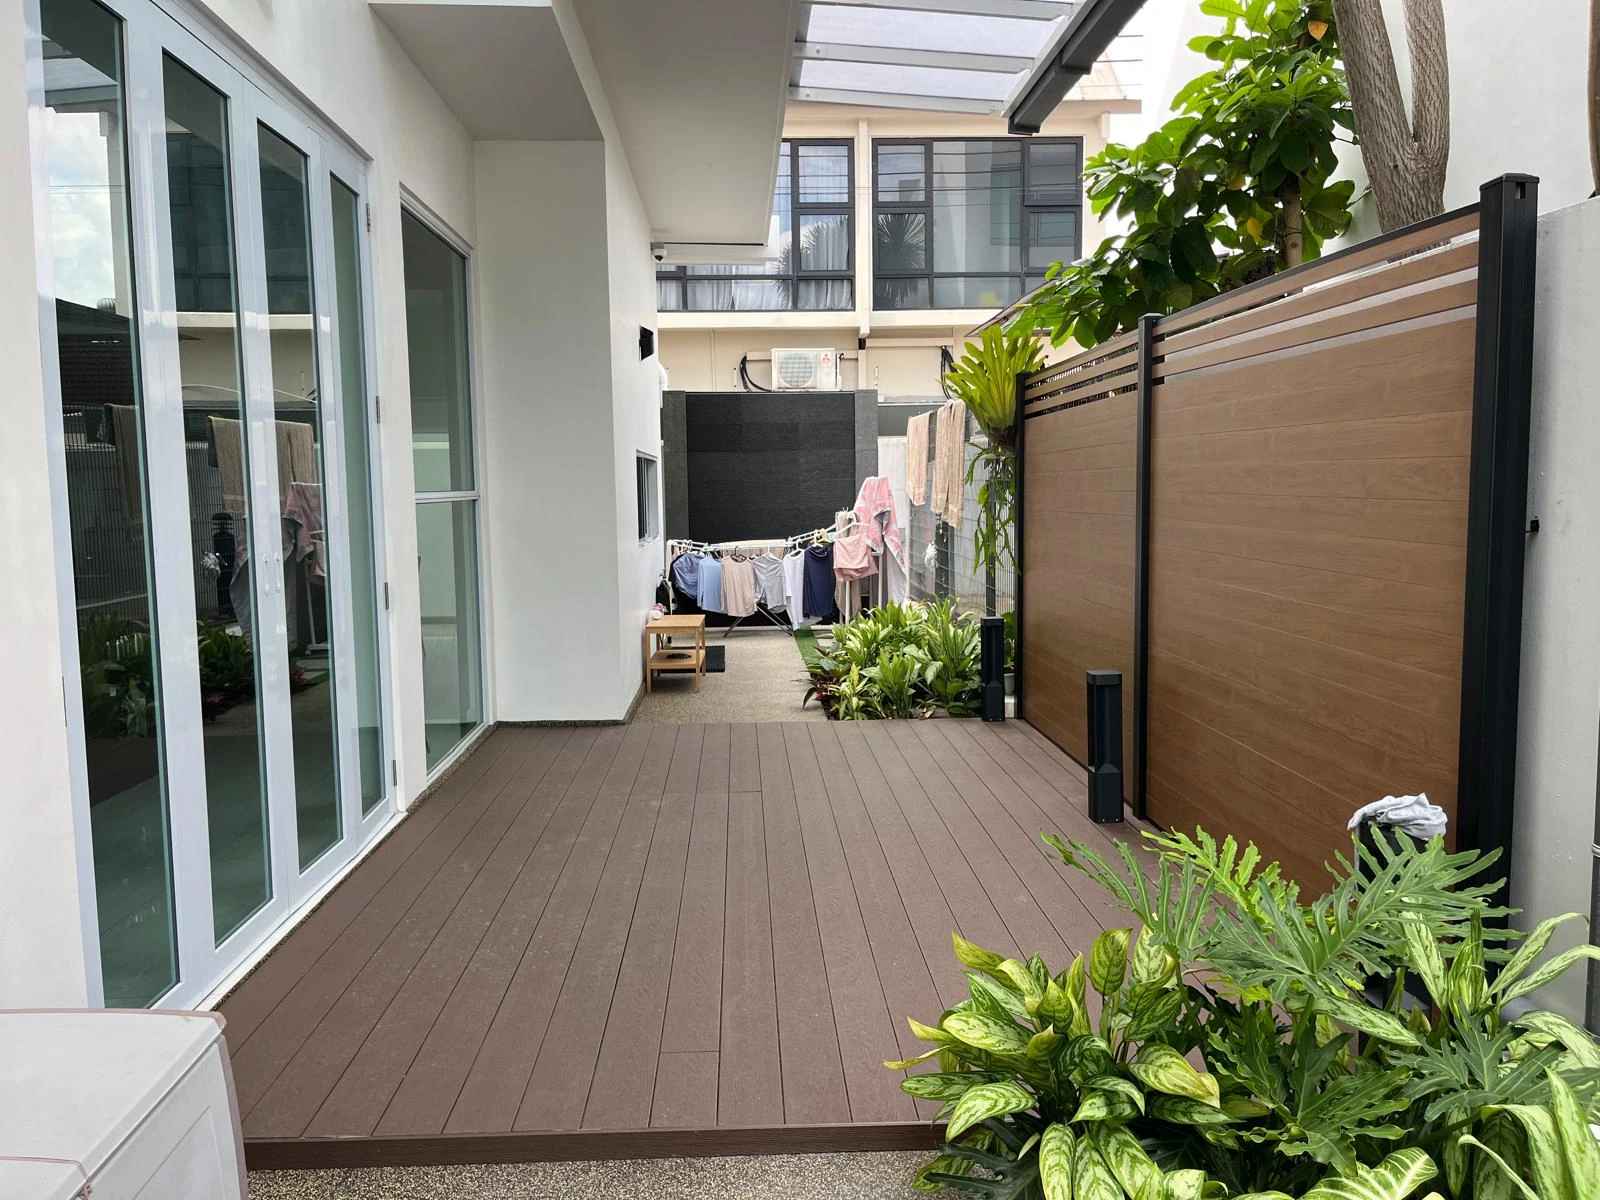
Aluminium decking in a wood-grain finish

Our published aluminium decking showcase features a wood-grain finish. Use it to discuss the look you prefer, then compare board samples and confirm the material and installation scope in your quotation.

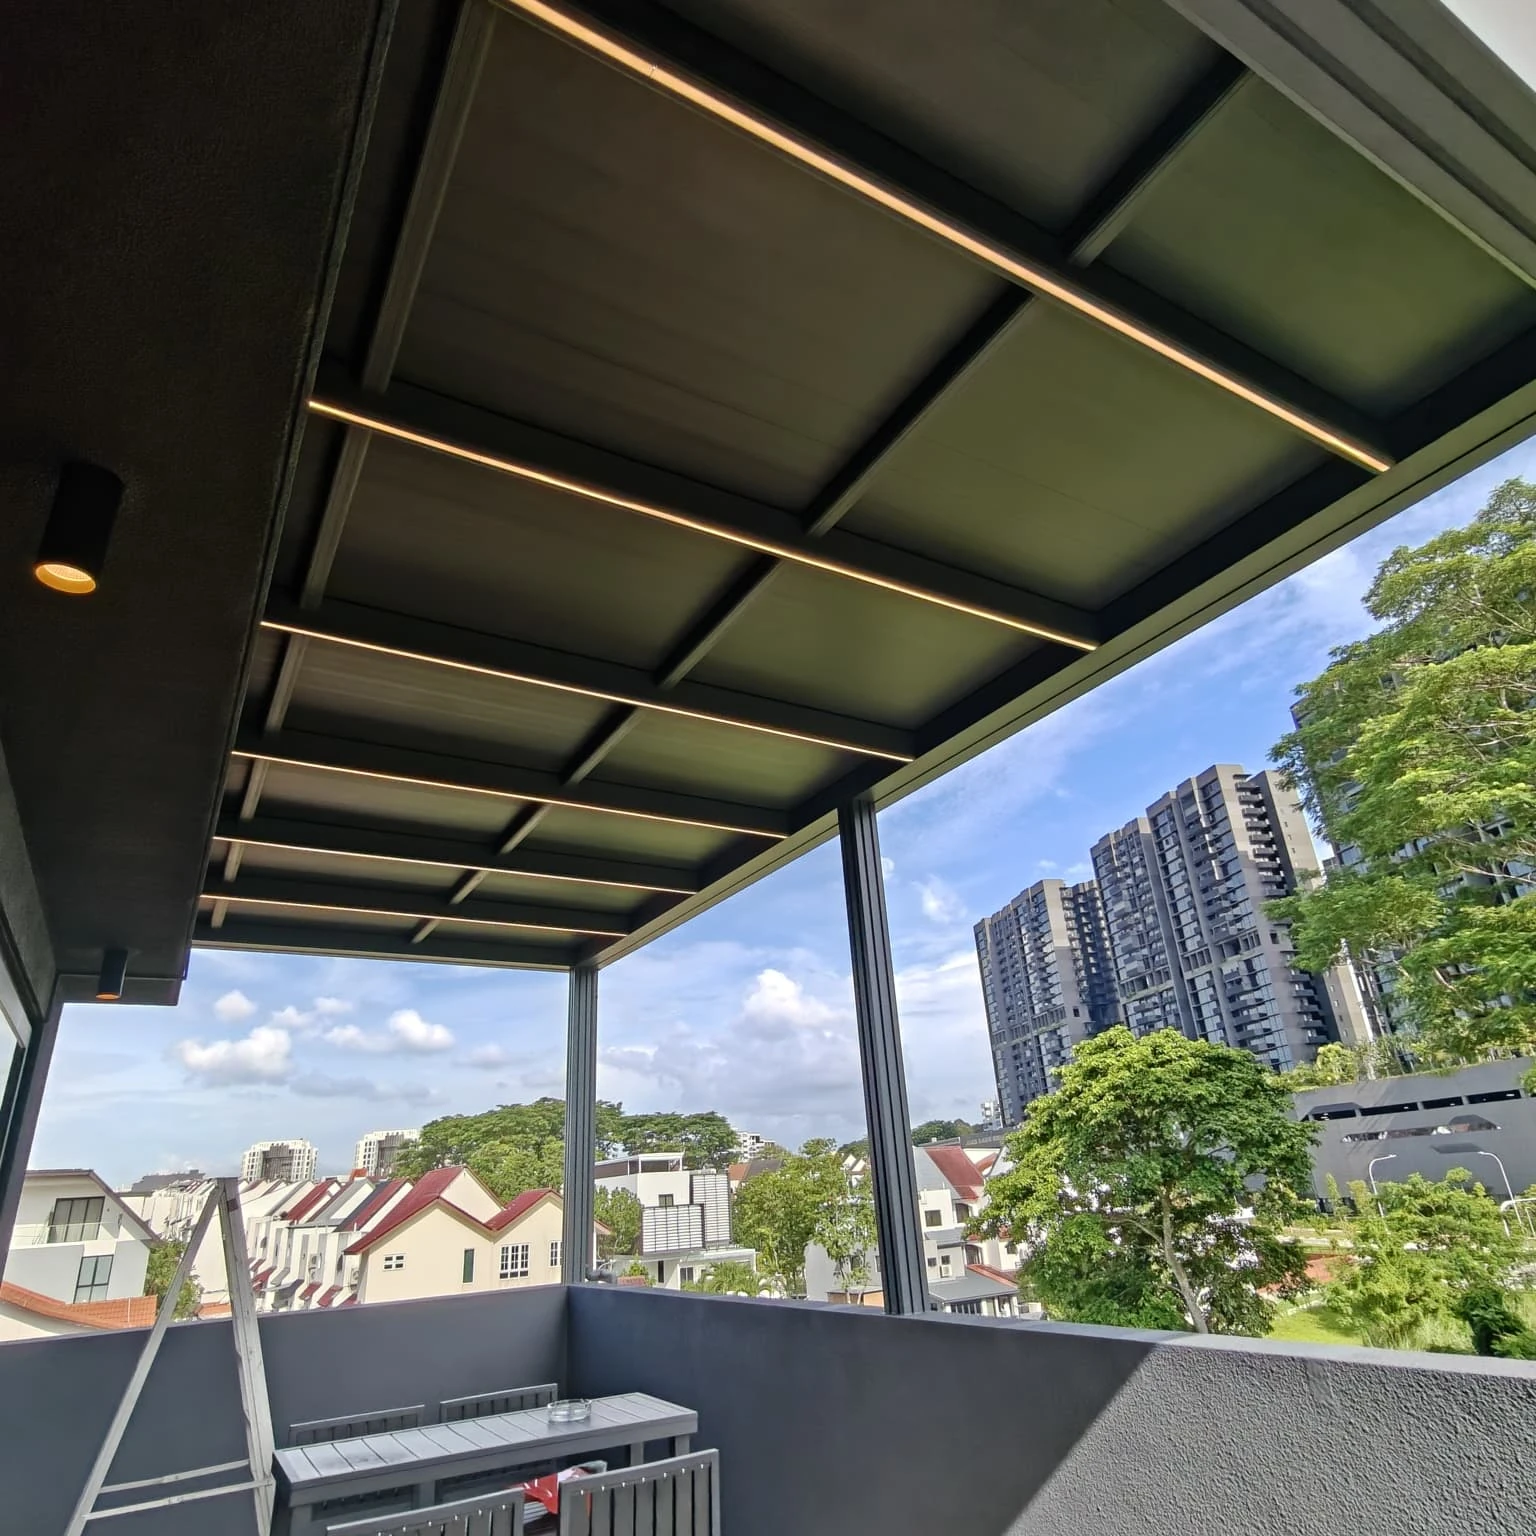
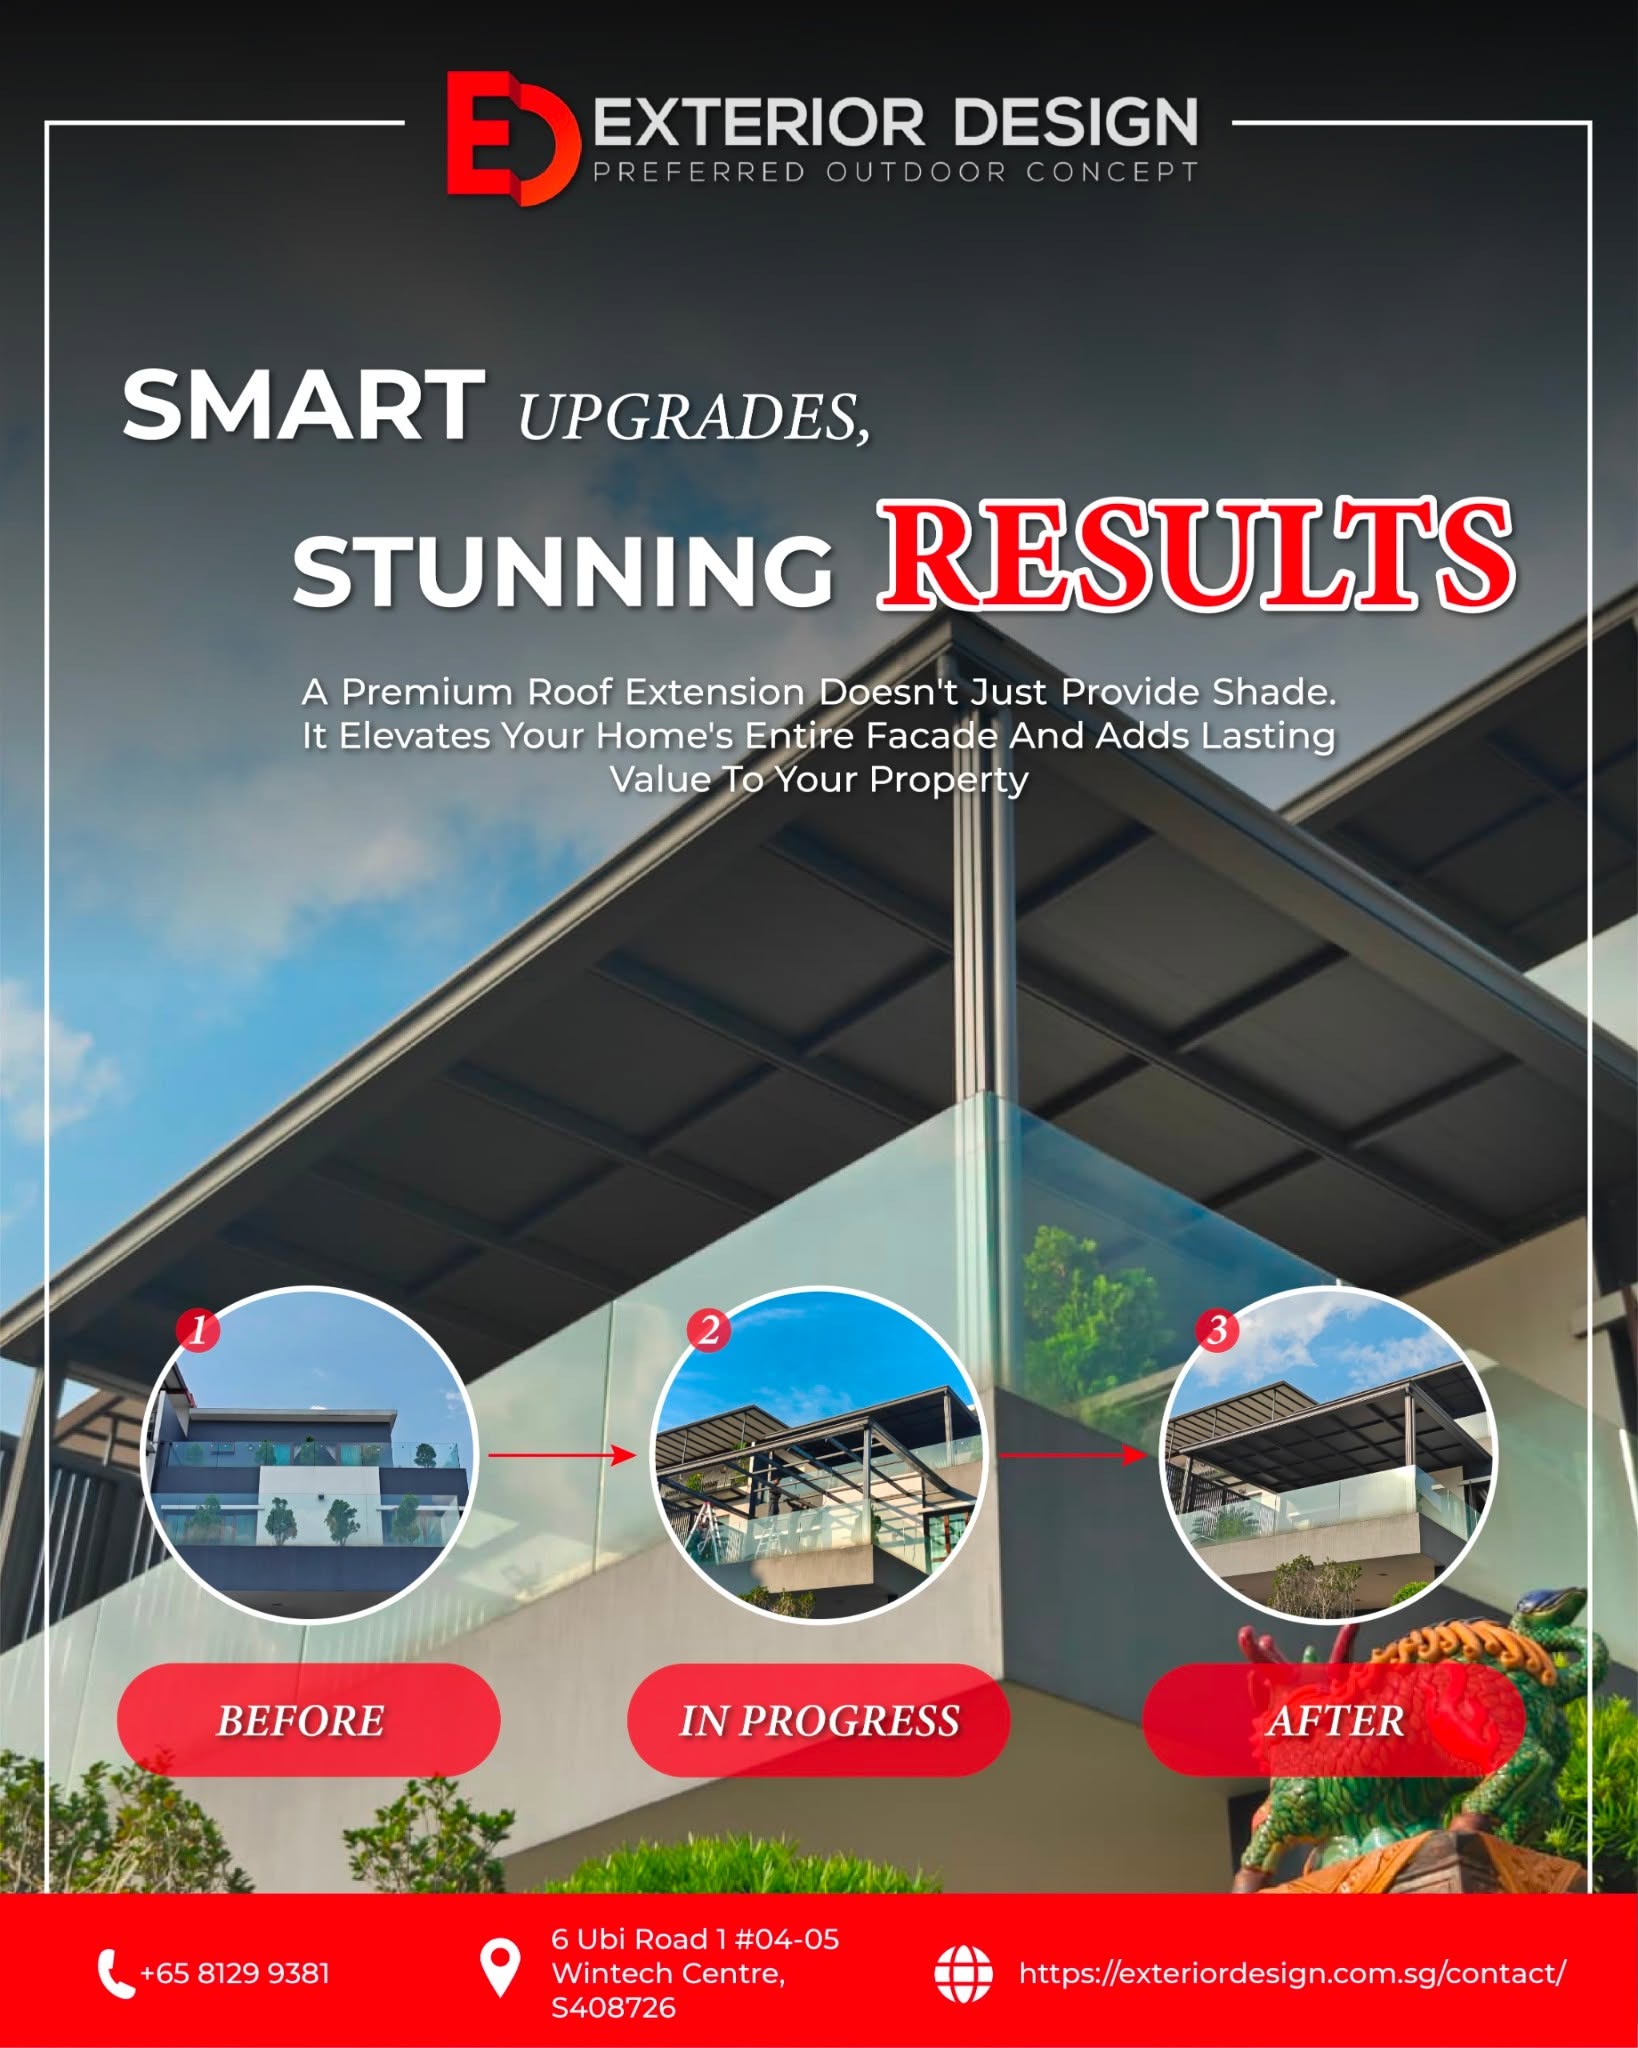
Exterior Design published artwork showing a roof extension labelled before, in progress and after, with the supporting frame and then the finished overhead cover
Our published roof-extension sequence, shown as posted.

A roof extension, before to after

The artwork labels its three images before, in progress and after. You can follow the change from an uncovered area, through the supporting frame going up, to the finished overhead cover. The roof type, span and sequence for a similar area are decided from your own site.

Closer look

Installation details in closer view.

These installation photographs let you compare the opening, the fixing area and the visible hardware with your own space. The system, fabric and dimensions for your project are settled in the quotation, not read off a photograph.

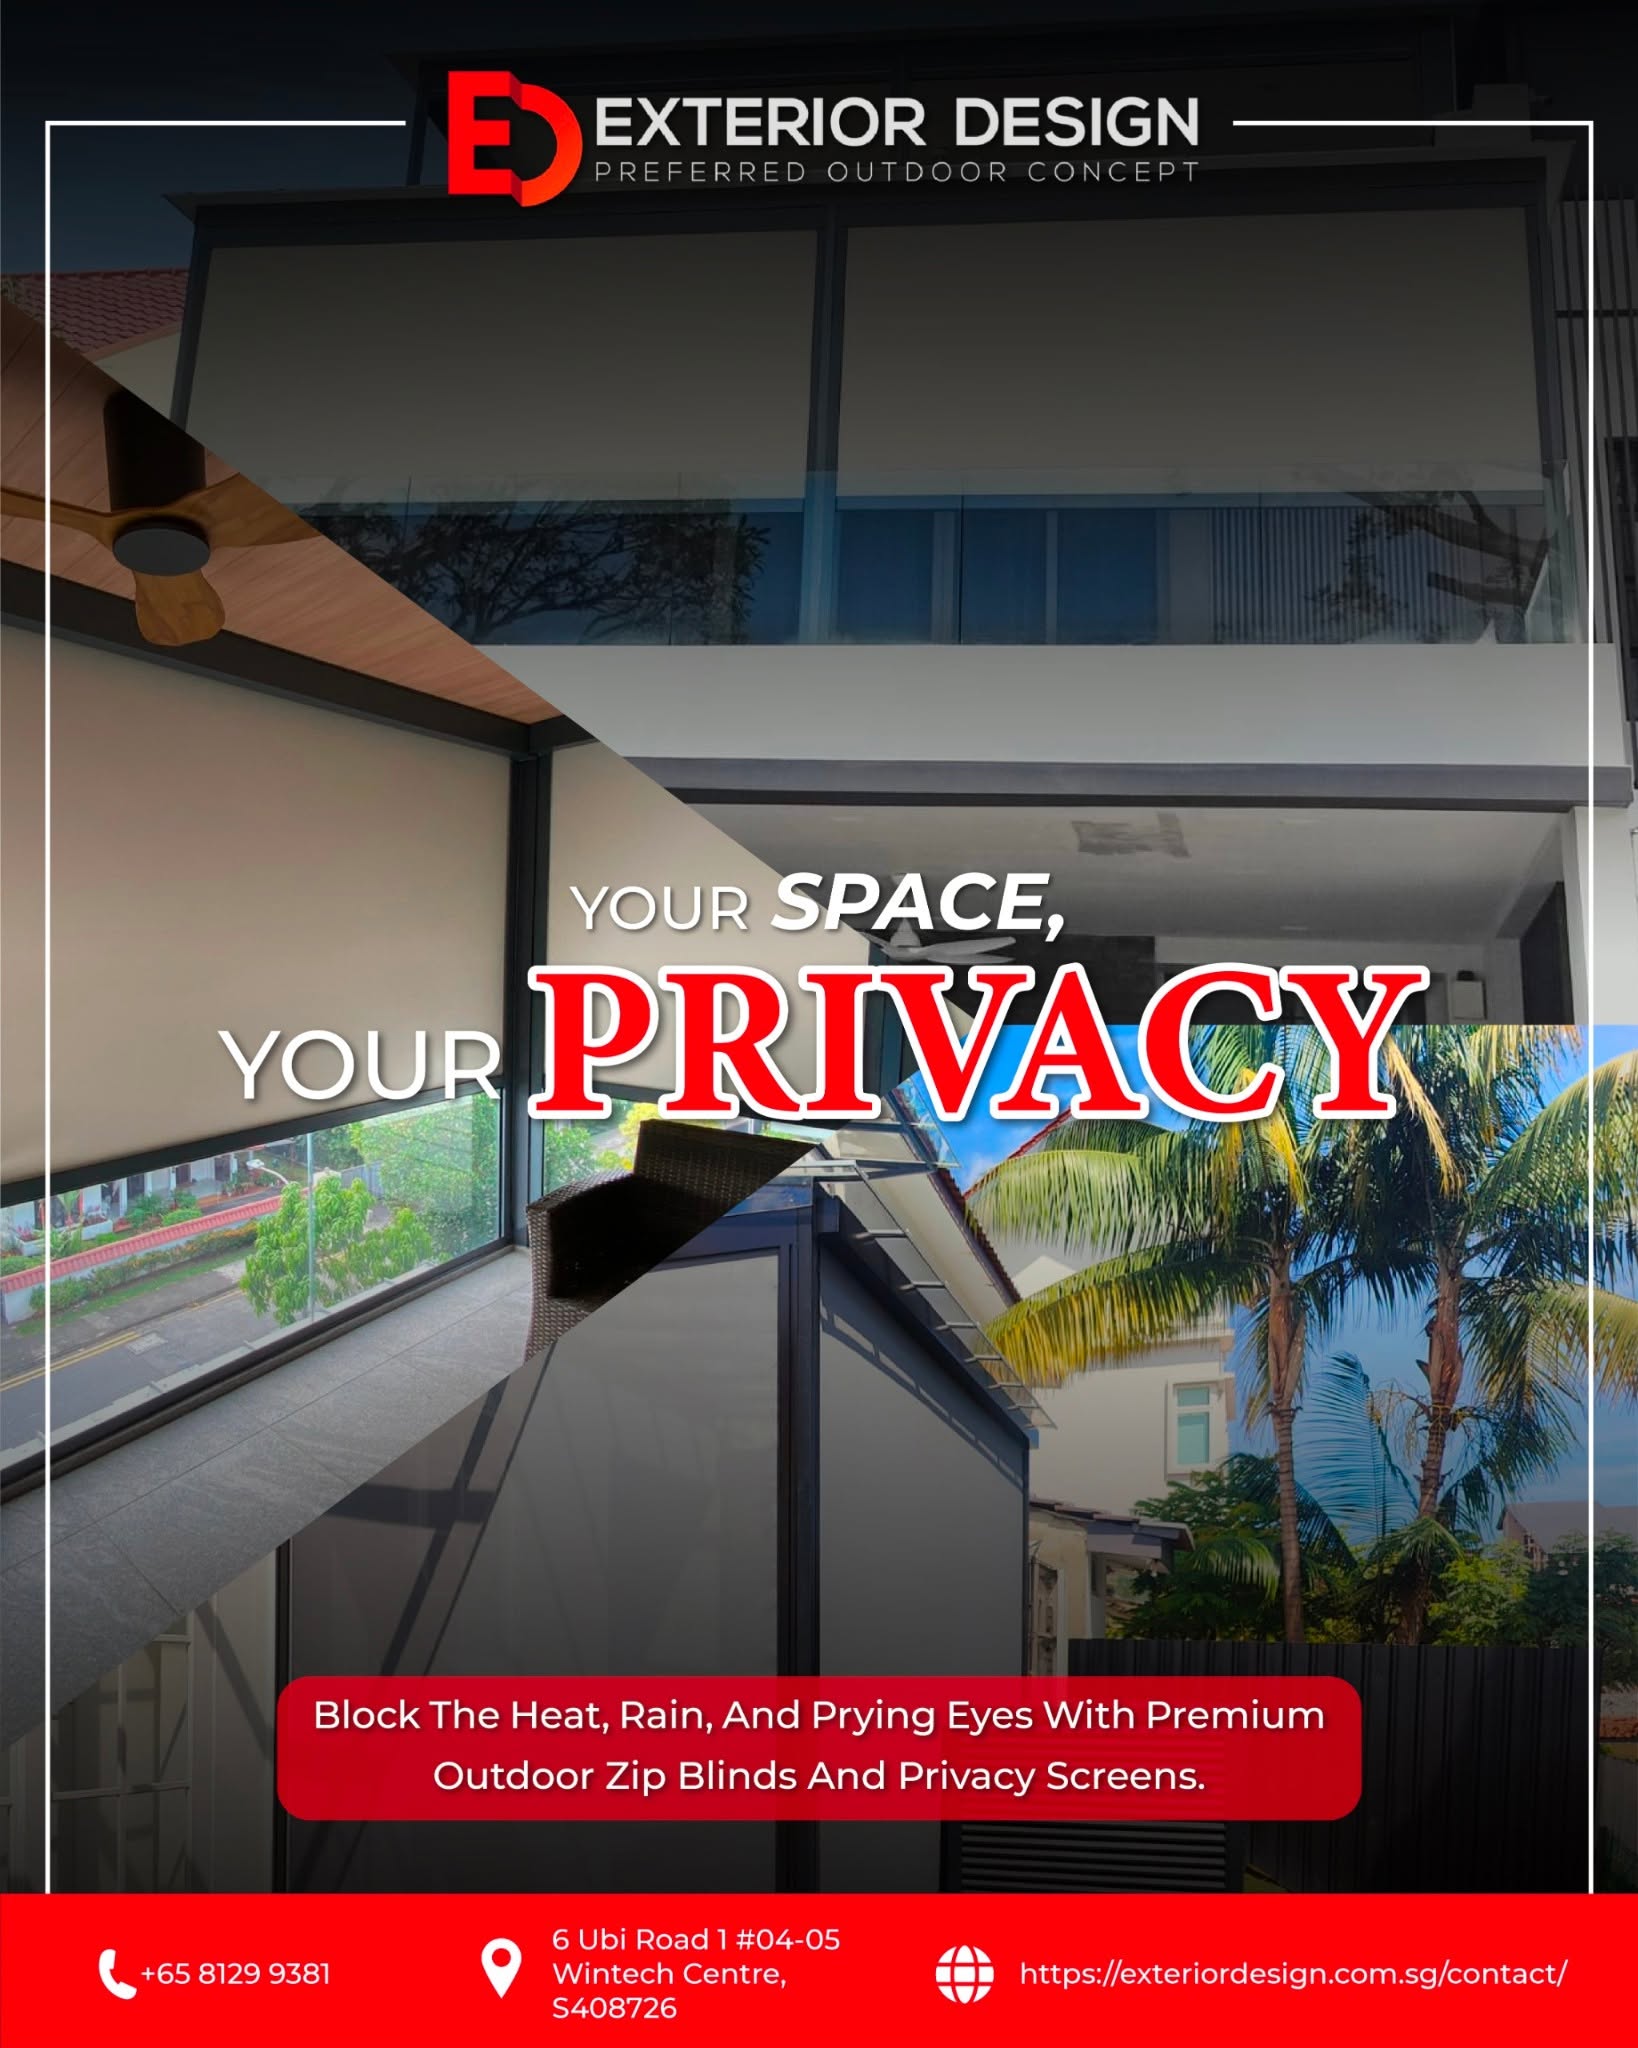
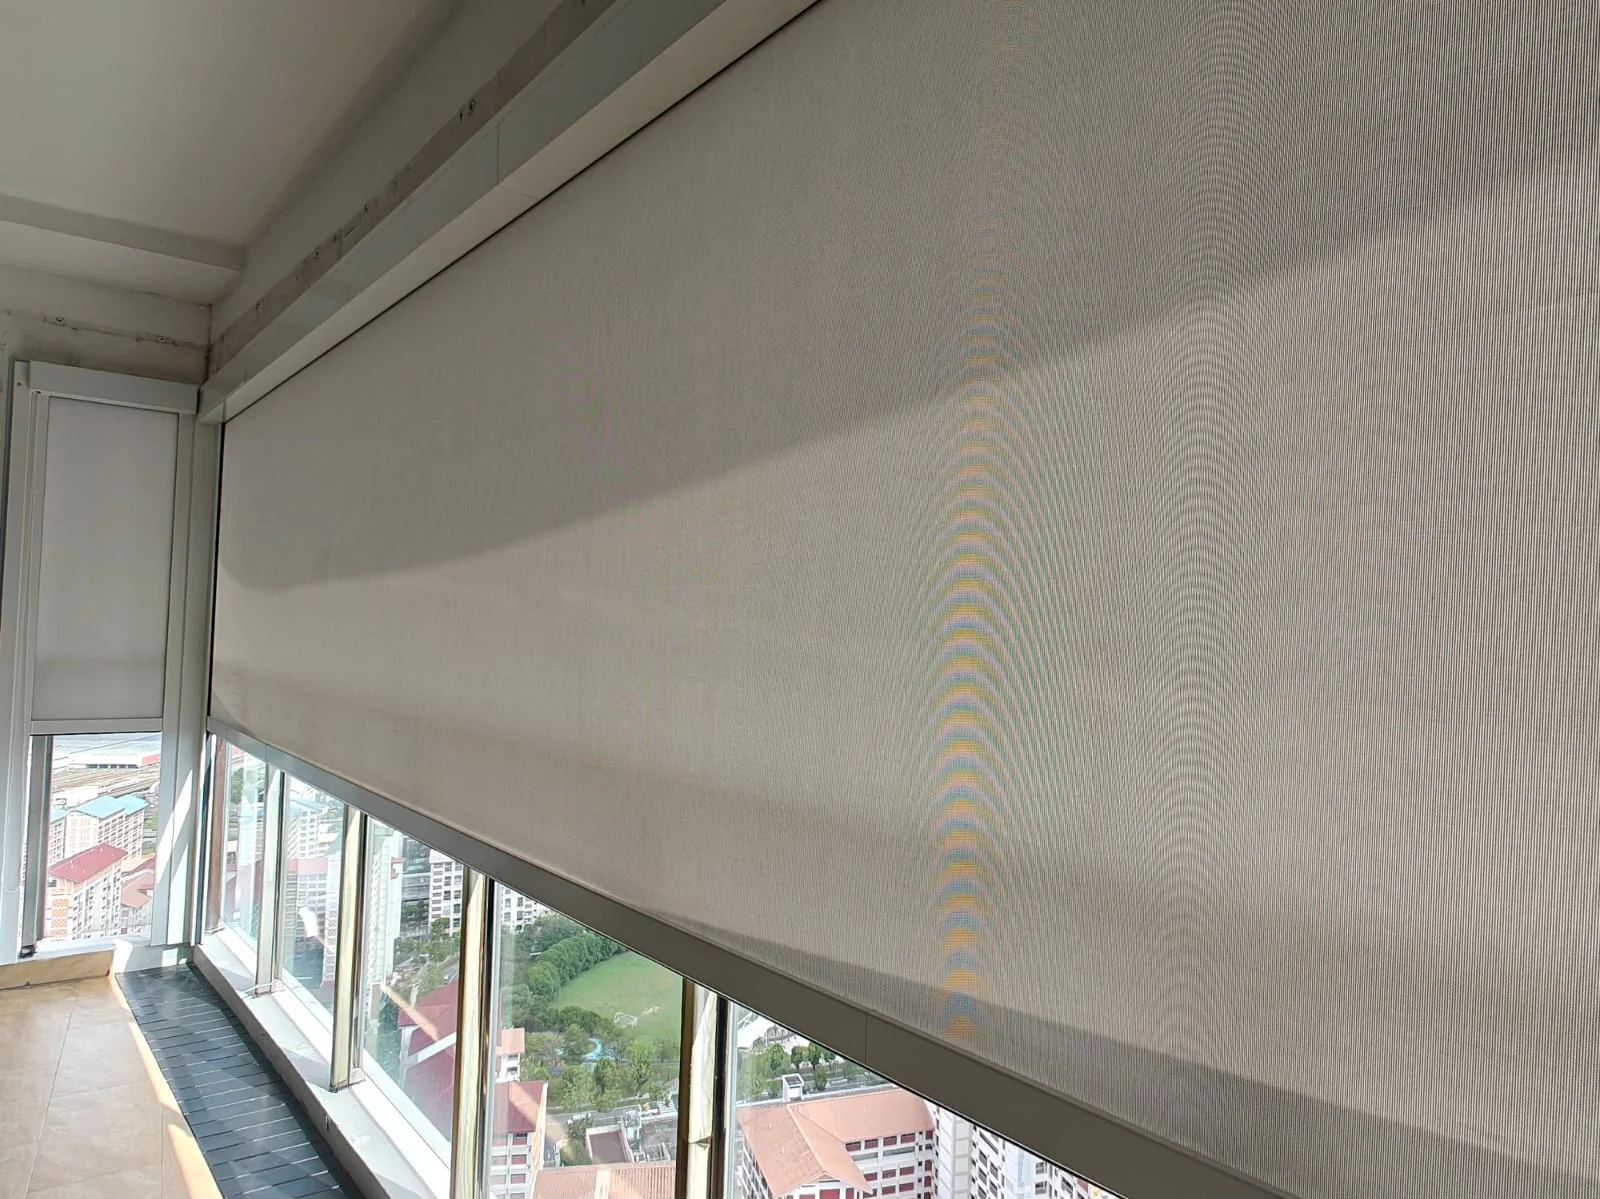
Screens inside a balcony opening

Pale outdoor screen fabric lowered part way across a balcony opening, with side tracks, a lower bar and a glass railing below
The screen lowered part way across a balcony opening. The head sits beneath the existing overhead slab, a track runs down each end, and the lower bar is pictured above the glass railing. A narrower screen covers the side return on the left.
Closer view along the same balcony screen showing the weave of the fabric and the lower bar beside the side track
A closer view of the same screen. Daylight passes through the weave, and the lower bar sits in line with the side track.

Two things shape most of the work here: where the top of the screen can be fixed, and what the ends land on. The head runs along an existing overhead slab, the visible tracks frame the fabric at each end, and the side return has a separate screen.

Worth measuring and photographing in your own balcony:

  • The opening. Clear width and height of each bay, and whether a return needs its own screen.
  • The top. Whether a flat slab, beam or ceiling is available to fix the head to.
  • The ends. What each side track can land on, and the clearance between the lowered bar and the floor or railing.
  • The view. How much of the outlook you want to keep when the screen is down.

Separate screened bays and a corner return

Exterior view of three pale screened bays in a row below an existing upper storey, with visible vertical divisions between the screens
Three screened bays in a row below an existing upper storey. Vertical members divide the bays, and the fabric is pictured at different heights.
View from below of the same screen run turning at a corner, with vertical members landing on a parapet wall
The same run seen from below, where the screen line turns at a corner and the verticals land on the parapet wall.

This side is divided into bays rather than one continuous screen, and the line turns at the corner instead of carrying past it. The photographs show that arrangement and the fixing positions. The operating method is not shown; open gaps remain beneath the fabric in these photographs.

If your space looks like this, bring us:

  • A photo of every bay. Taken square on, so the widths can be compared.
  • The corner. One photo from outside and one from underneath, showing how the two sides meet.
  • What stays. The existing cover, parapet and glazing you want to keep as they are.
  • The supporting work. Ask for the fixing and framing scope to be itemised, not only the screens.
From example to enquiry

Make it work for your space.

Start with an idea. The final recommendation comes from the details of your project.

Can you help plan a space like one of these examples?
Yes. Choose an example to start a project brief, then change the services and describe your own space. The example helps explain your preferences; the actual systems, materials and installation scope are confirmed for your site.
Do the decking photographs identify aluminium or WPC?
The ALU-R Pro supplied decking example is identified as aluminium from the supplied product records. Other timber-look photographs do not establish board material by appearance alone. Confirm the board and finish for your own quotation.
Can roofing, decking and zip blinds be considered together?
Yes. Exterior Design supplies and installs all three categories. You can discuss a single improvement or a combined project, including which existing parts of the space you want to keep.